Showing posts with label beginner cooking. Show all posts

Tuesday, 4 March 2014

Happy Pancake Day!

Happy Pancake day! Make these no fuss pancakes and top with sweet, savoury or indifferent toppings. Bacon and chocolate works... but concoction will you come up with?


Recipe: Pancakes (Makes 6 pancakes or more)
·       110g plain flour
·       Pinch of salt
·       2 eggs
·       250ml milk
·       50g butter, for frying
Equipment:
·       Bowl
·       Whisk
·       Frying pan
·       Large palette knife
·       Jugs
·       Sieve
1.    Sieve flour into a bowl and add salt.
2.    Make a well in the middle, add the egg and ½ of the milk.
3.    Whisk until the lumps have disappeared. Then add the rest of the milk and whisk until the mixture looks runny.
4.    Put into a jug and rest for an hour at room temperature.
5.    Heat the butter in a saucepan to coat. Make sure it’s not too oily. Pour a little of the batter into the saucepan, so has a thin layer of batter.
6.    When the pancake begins to blister, flip over using a palette knife. Cook on the other side, until a light brown colour.
7.    Serve hot with sugar, lemon, chocolate sauce, bacon, the cat etc. Be creative. 
Make sure if your flipping pancakes make sure you don't hit the ceiling >.< (I did twice erg.)

Bake On! Penny x

Friday, 28 June 2013

Earl Grey Mickey Cookies Inspired by Disneyland

Well it's been a week since I came back from my amazing holiday to *DRUMROLL* Disneyland Paris!
I'm gutted to come back to real life. It was like walking into a dream. I'm sure that many Disney fans know about the magic rush they get from going to a Disney Park.
It's a delirium of magic and stepping back in time and being a princess. 
(Note: I was not allowed to prance around in a big Lottie style dress, pushing children out of the way, to get to a ride declaring: "It's ok I live here!")

In any case, I was heartbroken to leave and so was my friend Sofia.
Heartbroken and very sore from all the walking. I loved it, none the less. So, I'm planning the next trip! I think next time my friend and I are going to drag our boyfriends by the hair and demand to go. Yes that is how obsessed we are.

In any case, since this is a baking blog I should tell to about my Disney adventures that are kind of related to baking.
To do some baking with I bought some of these:

Aren't they so cool?! I've never seen Disney cookie cutters before. So now I just needed an excuse to use them. I don't need an excuse to bake really, but it's nice to justify it. And I like nothing better then tea and biscuits so why not combine the two? 
These Earl Grey tea biscuits (or cookies whatever, as long as they taste good) are easy to make as well as being great as a sweet something before lunch or just something to dunk in tea. If you can handle the double dose of tea. 
Also, you can freeze this dough overnight, if you haven't got time to bake it. 
Also check out this nifty Alice in Wonderland teacup! A little gift to myself from Disneyland, there was an awesome teapot which I couldn't afford but hopefully will grab it on the next visit. (Makes a good excuse to go back no?)

Recipe Name: Mickey Earl Grey Tea Biscuits

Recipe: Makes 18-20 biscuits (recipe adapted from Cookies Galore)
·       80g unsalted butter, at room temperature
·       50g soft light brown sugar
·       1 tablespoon of teapigs Earl Grey tea leaves
·       1 egg white
·       150g plain flour, plus a little extra
·       Extra Demerara sugar to top each biscuit

Equipment:
·       Wire rack  
·       Electric hand whisk/ wooden spoon
·       Bowl
·       Sieve
·       Baking sheet lined with baking parchment x 2
·       Rolling pin
·       Mickey Mouse Cookie cutter

1.    Preheat oven to Gas Mark 5/ 190c/375f. Line the baking sheets with the baking parchment. (Don't preheat oven if your freezing this mixture overnight)

Step2. Cream the butter and sugar together
2.    Mix together the butter and sugar in a bowl and beat with a wooden spoon or an electric hand whisk until creamy.
Step 3. Stir in the tea leaves
3.    Stir in the tea leaves.
Step 4. Beat in the egg white
Step 4. Fold in the flour to make the dough
4.    Beat in the egg white. Fold in the flour to make, a soft but not sticky dough.
5.    Wrap the dough in cling film and chill in the fridge for as long as you can possibly can (I left it about an hour).
Step 6. Roll out and start cookie cutting!
6.    Roll out the dough on a lightly floured surface to about 3 mm thick and cut out mickey head and transfer to the prepared baking sheets and sprinkle each one with demerara sugar.
7.    Bake in the oven for 10-15 minutes until lightly browned.
Moonch with some tea
You can omit the demerara sugar if you like, but it will result in a pale colour. 
Have an excellent weekend fellow Disney/baking peoples!


(Yes I'm still using the princess siggie.)
Bake On! Penny x

Saturday, 16 March 2013

St Patricks Day Soda Bread and Pistachio Cupcakes

Happy St Patricks Day! Coming from an Irish family, we celebrate in a wonderful way... with food of course! In this case, bread. 
When I think of Ireland, I think of my Grandad, potatoes, green shamrocks, Mrs Brown's Boys and Leprechauns of course. But when I think of Irish food, my bread brain always thinks of soda bread. However, other countries have there own claim on the soda bread, but its mainly associated with Ireland. 
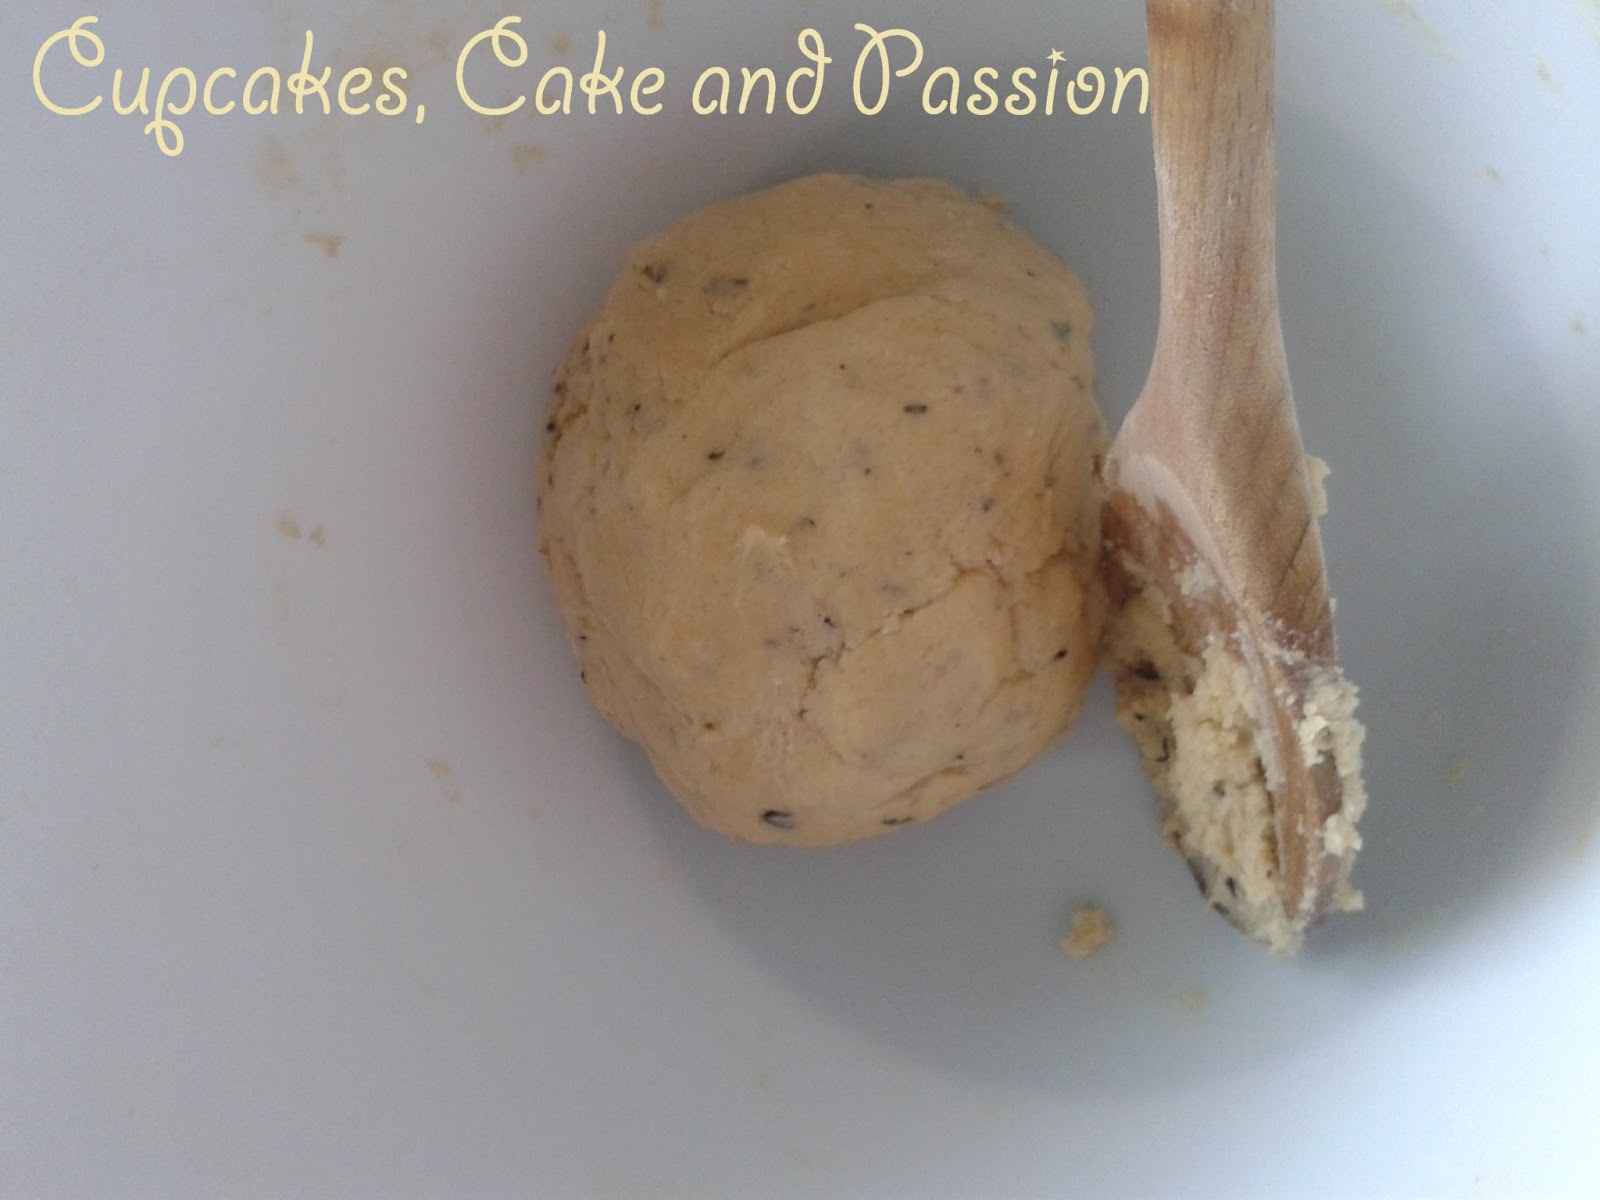
The Plain Soda Bread I made in pastry class.
My Grandad, (aka Gramps) is your typical, stereotypical Irish man and so he has to share his memories with me constantly. He told me that his granmother (my great-great granmother) would make her soda bread with currents to make it sweet. 
When I told him that I would be publishing a soda bread, which you can add cheese to. 
He looked mortified. 
So in this recipe, you can add currents or cheese and a little paprika (Just don't tell my Gramps!)

Ingredients: (Recipe Inspired by my Gramps and My patisserie tutor Faye)
·       300g Strong Flour
·       4g bicarbonate of soda
·       15g baking powder
·       15g Sugar
·       4g Salt
·       30g Unsalted butter
·       210ml buttermilk
(Add about 75g currents or 80g of a cheese of your choice with a pinch of paprika but this is optional)

Equipment
·       Sieve
·       Bowl
·       Jug
·       Baking sheet covered with silicone paper

Great with cheese or currents baked in it.
    1.    Sieve all the dry ingredients into a bowl.
    2.    Rub the butter into the mix until it resembles breadcrumbs
    3.    Make a well in centre and add most of the buttermilk but not all of it. Only add the last part if it’s too dry.
    4.    Mix all the ingredients together to form a dough. (Add the currents or cheese at this stage)
    5.    Turn out onto the table and knead until the stickiness has gone. Mould into a round and place on a baking sheet.
    6.    Make a cross with a very sharp knife almost cutting all the way through. Dust with a little flour.
    7.    Leave to rest in a proofer for 10 minutes then put into a hot oven 230c/450f/ Gas Mark 8 then turn the oven down and finish cooking for 25 minutes.
   8.    When cooked, it should appear golden brown and sound hollow when tapped when tapped on the bottom. 

    The next recipe is not traditional, in fact when I saw it, I went: “Huh, this is erm.. different? At least it's green.
     In fact, I didn't think it would work! But the saltiness of the pistachios contrasted with the sweetness of the icing. It is a combination that will make your tastebuds dance a little Irish jig! 

    Recipe: Pistachio Cupcakes Makes About 16 (Adapted from Cupcakes Galore by Gail Wagman)
·       150g plain flour
·       1 teaspoon baking powder
·       1 teaspoon salt
·       190g unsalted butter, softened
·       150g dark brown sugar
·       3 eggs
·       1 teaspoon of vanilla extract
·       125ml natural yogurt
·       150g salted pistachios, roughly chopped

       Recipe: Green Icing
·       20g unsalted butter, softened
·       4 tablespoons hot milk
·       220g icing sugar
·       2 drops of Peppermint flavouring
·       Green food colouring paste (I used Gooseberry Green)
·       Green sugar
·       Gold and green glitter or other decorations.
       Equipment:
·       Knife
·       Chopping board
·       Bowl x3
·       12 hole muffin tray filled with cupcake cases x2
·       Electric whisk/handheld whisk
·       Scales
·       Spoons
·       Small palette knife

1.    Preheat oven to 180c/350f/Gas Mark 4
2.    Mix the flour, baking powder, bicarbonate of soda, and salt in a bowl and set aside.
3.    Cream the butter and sugar together until light and fluffy. Add eggs one at a time, mixing well after each addition and add vanilla. Alternately beat in the flour mixture and the yoghurt. Fold in the pistachios.
4.    Spoon batter into cupcake cases, filling about 2/3 full. Bake for 25 minutes. Remove from the oven and cool on a wire rack.
Green icing was used to top the cupcakes
5.    For the icing: Mix the butter and milk together in a large bowl. Slowly beat in the icing sugar until the icing is of a good spreading consistency. (You may need to add a little more milk depending on how runny you want your icing, but it should but thick but spreading).
6.    Add the food colouring and the peppermint flavouring, mix well and spread on cooled cupcakes. Decorate as desired. (Glitter and tried to do some shamrocks.)

Have a Happy St Patricks Day and Bake On!


Bake On! Penny x

Wednesday, 6 March 2013

Fougasse, bread sticks and assessment bread

I haven't really had a lot of chance to do much baking in the last few weeks as I've been really busy. 
I've been booking another trip to Disneyland Paris with my pal Sofia, she's never been so she is 'foaming at the mouth' excited! So June can't come quicker enough!
More recently, I have booked myself a cupcake class at Primrose Bakery. I'm going this sunday which is Mother's Day but I'm decorating the cupcakes for mum and then taking her out for a lovely lunch afterwards. So watch this space! 
Other reasons why I haven't been as busy in the kitchen because I've been visiting family and trying to sort out my baking cupboard. 
There was quite alot of baking stuff to sort.
 But I am posting up a recipe. Yesterday, I passed my third pastry class assessment, with merit! I had to bake a flavoured loaf, which turned out so lovely and the smell was to die for! I also have a recipe her for fougasse and breadsticks which make good film night snacks. 
Penny's Assessment Fennel and Thyme Bread
Recipe: Penny's Assessment Bread aka fennel and thyme bread
·       500g strong flour
·       10g fresh yeast
·       10g salt
·       350ml warm water (plus a little extra)
·       1 tbsp fennel seeds
·       1tbsp fresh thyme
Equipment:
·       Bowl
·       Scraper
·       Sieve
·       Loaf tin lined with silicone paper
·       Tray filled with water

   1.    Pre-heat oven to Gas Mark 9/475f/250c so that is very hot. Place the tray with warm water into the oven at this stage.
2.    Sieve the flour into the bowl and rub the fresh yeast into the flour. (Make sure that the salt doesn't make contact with the yeast.) Add the fennel seeds and fresh thyme at this stage.
3.    Add the salt and warm water, once the yeast has completely rubbed in.
4.    Using your scraper, mix the dough until smooth. It may need a little more warm water just add a little bit at a time so that its sticky but not wet.
5.    Remove from the bowl and place on work-surface (without flour on the surface). Fold the bread like this. Pick it up, slap it on the surface of the table and fold it over itself and repeat until it forms a smooth lovely dough. (It looks like it's gone wrong but trust me it works)
6.    Cover with clingfilm and leave in a warm place to proof for about 30 minutes.
7.    The dough should have doubled in size. Lightly scrap the dough onto a work surface and knead it a little again. And fold it to shape it to fit the loaf tin.
8.    Proof again for another 30 mins.
9.    Turn the oven down to Gas Mark 7/425f/220c and bake for 20-25 minutes.


A fougasse is a leaf shaped bread which comes from France, however the taste is very similar to a focaccia. This is a 'sharing' bread, great for dipping with balsamic vinegar and olive oil. 

Recipe: Fougasse and bread sticks
·       Semolina
·       Black Olives, chopped finely
·       Parmesan cheese, grated
·       A little thyme
·       Ingredients as above, leave out the fennel seeds
Equipment:
·       Baking tray lined with silicone paper x 2
·       Sieve
·       Scraper
·       Bowl
·       Rolling pin
·       Tray with warm water placed in the oven.
·       knife

1.    Prepare as above. Until step 5.
2.    Cut the dough into three using bread scraper. Roll 2 pieces of the dough into flat leaf shapes.
3.    Place the two leaves onto a baking tray and using a cut long line in the middle of the bread, and then cut 6 more slits on the side. This represents the veins of a leaf.
4.    Using the 1/3 of the dough, roll it into a flat oval shape, place the chopped olives, cheese and thyme into the middle of the dough and fold over.
5.    Then using a sharp knife cut strips of dough. So that each strip has a little filling in each.
6.    Twist the dough and place on the baking tray.
7.    Bake at Gas Mark 7/425f/220c for 20-25 minutes. 
I hope you all treat your mum's really well on her special day! 
Bake on! and Happy Mothers Day!
Penny 
Bake On! Penny x

Wednesday, 27 February 2013

Devonshire Splits, Bath Buns and Fruit Buns. With One Dough!

Another pastry class and a week closer to another crazy assessment!
Next week I'm making a flavoured loaf which was featured in a past blog post
However this week I've been making a plain sweet dough. Which sounds a little boring, but the whole class made a variety of different buns. 

In the class we made Devonshire Splits. When I think of Devon, I think of my friends Leanne and Ben and secondly of traditional cream tea. Now, no matter which country in the world tries. The BEST cream tea is from the UK!
Image from: http://en.wikipedia.org/wiki/File:Devonshire_tea.jpg
Traditionally clotted cream, jam are served with scones and hot tea. However Devonshire Splits aka Cornwall Splits, (there isn't a difference in the bun, but the name varies on if you put the jam or cream on first) can also be served with instead of scones.  Just would like to point out that we also made some Devonshire Splits with fondant icing on top, which look very similar to éclairs

Devonshire Splits made by me in pastry class
Bath buns are sweet dough buns which can be filled with fruits such as raisins and can be served with jam or cream or even both! They are always topped with crushed sugar. 
Bath buns(far left) with different shaped Devonshire Splits.(Made by me) 
Recipe: Basic Bun Dough 
·       600g Strong Flour
·       15g Milk powder
·       75g Sugar
·       7g Salt
·       60g Unsalted butter
·       30g Liquid egg
·       37g Yeast
·       300g Warm Water

Devonshire Splits with icing:
·       500g Fondant Icing
·       Whipped Cream

Devonshire Splits:
·       Whole Egg for glazing
·       Whipped Cream
·       Raspberry Jam

Bath Buns
·       Whole Egg for glazing
·       Crushed sugar 
        
Fruit Buns
· 75g Sultanas

Equipment
·       Sieve
·       Bowl
·       Jug
·       Large baking sheet covered with silicone paper
·       2x Piping bags, one fitted with a star nozzle
·       Spoons
·       Pastry brush for the egg glaze
·       Whisk for the whipping cream

1.    Sieve the flour into a bowl, add the milk powder. Rub the butter into the flour until mix resembles breadcrumbs. Mix in the salt and sugar.
2.    Disperse yeast in some but not all of the water.
3.    Make a well in the flour mix, add the yeast water and also the egg. Add most of the yeasty water but not all. Knead the dough until the dough loses it’s stickiness. Add the rest of the water if the dough feels dry. 
4.    Cut into thirds. Mix 75g sultanas into one third of the dough, cut into 4’s and shape into round buns.
5.    Cut the two doughs into 4’s and shape four into oblongs and four into round buns.
6.    Place all the buns on the large tray covered with silicone paper and leave to proof for 30-45 minutes.
7.    Glaze the tops of the buns with a little egg wash and top the fruit buns with a little nibbed sugar.
8.    Bake at 180c/350f/Gas Mark 4/  for 15-20 minutes.
9. Place on a wire rack to cool.
10. Cut the plain buns slightly diagonally fill with cream and jam.
11. Cut the oblong buns across and top with melted fondant and fill with cream. Serve with tea!


Bake On!
Penny 
Bake On! Penny x
Related Posts Plugin for WordPress, Blogger...