Showing posts with label disneyland. Show all posts

Friday, 28 June 2013

Earl Grey Mickey Cookies Inspired by Disneyland

Well it's been a week since I came back from my amazing holiday to *DRUMROLL* Disneyland Paris!
I'm gutted to come back to real life. It was like walking into a dream. I'm sure that many Disney fans know about the magic rush they get from going to a Disney Park.
It's a delirium of magic and stepping back in time and being a princess. 
(Note: I was not allowed to prance around in a big Lottie style dress, pushing children out of the way, to get to a ride declaring: "It's ok I live here!")

In any case, I was heartbroken to leave and so was my friend Sofia.
Heartbroken and very sore from all the walking. I loved it, none the less. So, I'm planning the next trip! I think next time my friend and I are going to drag our boyfriends by the hair and demand to go. Yes that is how obsessed we are.

In any case, since this is a baking blog I should tell to about my Disney adventures that are kind of related to baking.
To do some baking with I bought some of these:

Aren't they so cool?! I've never seen Disney cookie cutters before. So now I just needed an excuse to use them. I don't need an excuse to bake really, but it's nice to justify it. And I like nothing better then tea and biscuits so why not combine the two? 
These Earl Grey tea biscuits (or cookies whatever, as long as they taste good) are easy to make as well as being great as a sweet something before lunch or just something to dunk in tea. If you can handle the double dose of tea. 
Also, you can freeze this dough overnight, if you haven't got time to bake it. 
Also check out this nifty Alice in Wonderland teacup! A little gift to myself from Disneyland, there was an awesome teapot which I couldn't afford but hopefully will grab it on the next visit. (Makes a good excuse to go back no?)

Recipe Name: Mickey Earl Grey Tea Biscuits

Recipe: Makes 18-20 biscuits (recipe adapted from Cookies Galore)
·       80g unsalted butter, at room temperature
·       50g soft light brown sugar
·       1 tablespoon of teapigs Earl Grey tea leaves
·       1 egg white
·       150g plain flour, plus a little extra
·       Extra Demerara sugar to top each biscuit

Equipment:
·       Wire rack  
·       Electric hand whisk/ wooden spoon
·       Bowl
·       Sieve
·       Baking sheet lined with baking parchment x 2
·       Rolling pin
·       Mickey Mouse Cookie cutter

1.    Preheat oven to Gas Mark 5/ 190c/375f. Line the baking sheets with the baking parchment. (Don't preheat oven if your freezing this mixture overnight)

Step2. Cream the butter and sugar together
2.    Mix together the butter and sugar in a bowl and beat with a wooden spoon or an electric hand whisk until creamy.
Step 3. Stir in the tea leaves
3.    Stir in the tea leaves.
Step 4. Beat in the egg white
Step 4. Fold in the flour to make the dough
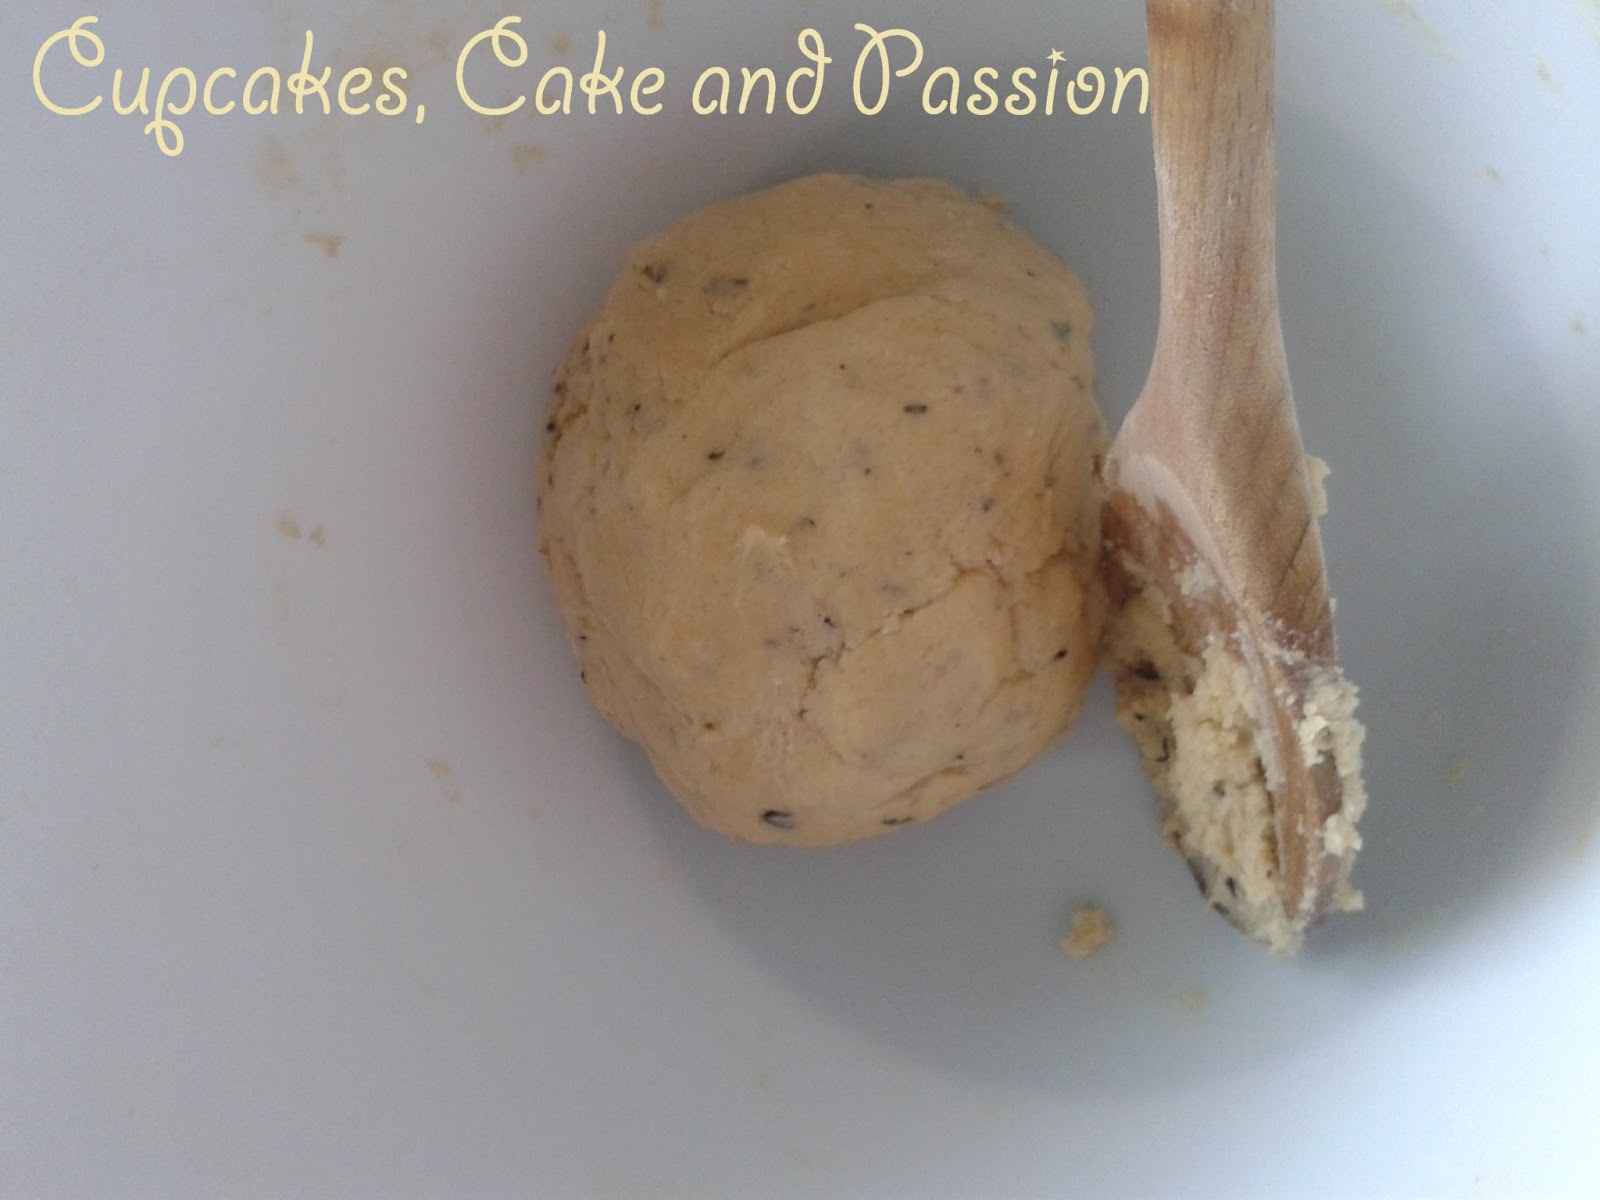
4.    Beat in the egg white. Fold in the flour to make, a soft but not sticky dough.
5.    Wrap the dough in cling film and chill in the fridge for as long as you can possibly can (I left it about an hour).
Step 6. Roll out and start cookie cutting!
6.    Roll out the dough on a lightly floured surface to about 3 mm thick and cut out mickey head and transfer to the prepared baking sheets and sprinkle each one with demerara sugar.
7.    Bake in the oven for 10-15 minutes until lightly browned.
Moonch with some tea
You can omit the demerara sugar if you like, but it will result in a pale colour. 
Have an excellent weekend fellow Disney/baking peoples!


(Yes I'm still using the princess siggie.)
Bake On! Penny x

Thursday, 6 June 2013

Harry Potter fans,don't get jealous

I know its got nothing to do with baking or desserts or anything. But I'm off to Disneyland right now. As I'm typing his onto my phone at the eurostar station! I'm so excited.
On our travels me and my friend found Platform 9 3/4's. Yes the official platform, which we found so funny and a good photo op.
But we do look like lunatics. 
Bake on!
Penny x
Bake On! Penny x

Wednesday, 6 March 2013

Fougasse, bread sticks and assessment bread

I haven't really had a lot of chance to do much baking in the last few weeks as I've been really busy. 
I've been booking another trip to Disneyland Paris with my pal Sofia, she's never been so she is 'foaming at the mouth' excited! So June can't come quicker enough!
More recently, I have booked myself a cupcake class at Primrose Bakery. I'm going this sunday which is Mother's Day but I'm decorating the cupcakes for mum and then taking her out for a lovely lunch afterwards. So watch this space! 
Other reasons why I haven't been as busy in the kitchen because I've been visiting family and trying to sort out my baking cupboard. 
There was quite alot of baking stuff to sort.
 But I am posting up a recipe. Yesterday, I passed my third pastry class assessment, with merit! I had to bake a flavoured loaf, which turned out so lovely and the smell was to die for! I also have a recipe her for fougasse and breadsticks which make good film night snacks. 
Penny's Assessment Fennel and Thyme Bread
Recipe: Penny's Assessment Bread aka fennel and thyme bread
·       500g strong flour
·       10g fresh yeast
·       10g salt
·       350ml warm water (plus a little extra)
·       1 tbsp fennel seeds
·       1tbsp fresh thyme
Equipment:
·       Bowl
·       Scraper
·       Sieve
·       Loaf tin lined with silicone paper
·       Tray filled with water

   1.    Pre-heat oven to Gas Mark 9/475f/250c so that is very hot. Place the tray with warm water into the oven at this stage.
2.    Sieve the flour into the bowl and rub the fresh yeast into the flour. (Make sure that the salt doesn't make contact with the yeast.) Add the fennel seeds and fresh thyme at this stage.
3.    Add the salt and warm water, once the yeast has completely rubbed in.
4.    Using your scraper, mix the dough until smooth. It may need a little more warm water just add a little bit at a time so that its sticky but not wet.
5.    Remove from the bowl and place on work-surface (without flour on the surface). Fold the bread like this. Pick it up, slap it on the surface of the table and fold it over itself and repeat until it forms a smooth lovely dough. (It looks like it's gone wrong but trust me it works)
6.    Cover with clingfilm and leave in a warm place to proof for about 30 minutes.
7.    The dough should have doubled in size. Lightly scrap the dough onto a work surface and knead it a little again. And fold it to shape it to fit the loaf tin.
8.    Proof again for another 30 mins.
9.    Turn the oven down to Gas Mark 7/425f/220c and bake for 20-25 minutes.


A fougasse is a leaf shaped bread which comes from France, however the taste is very similar to a focaccia. This is a 'sharing' bread, great for dipping with balsamic vinegar and olive oil. 

Recipe: Fougasse and bread sticks
·       Semolina
·       Black Olives, chopped finely
·       Parmesan cheese, grated
·       A little thyme
·       Ingredients as above, leave out the fennel seeds
Equipment:
·       Baking tray lined with silicone paper x 2
·       Sieve
·       Scraper
·       Bowl
·       Rolling pin
·       Tray with warm water placed in the oven.
·       knife

1.    Prepare as above. Until step 5.
2.    Cut the dough into three using bread scraper. Roll 2 pieces of the dough into flat leaf shapes.
3.    Place the two leaves onto a baking tray and using a cut long line in the middle of the bread, and then cut 6 more slits on the side. This represents the veins of a leaf.
4.    Using the 1/3 of the dough, roll it into a flat oval shape, place the chopped olives, cheese and thyme into the middle of the dough and fold over.
5.    Then using a sharp knife cut strips of dough. So that each strip has a little filling in each.
6.    Twist the dough and place on the baking tray.
7.    Bake at Gas Mark 7/425f/220c for 20-25 minutes. 
I hope you all treat your mum's really well on her special day! 
Bake on! and Happy Mothers Day!
Penny 
Bake On! Penny x

Monday, 19 November 2012

Tutorial: Princess Mini Cakes

As the title suggest this is a tutorial. My first ever tutorial. (Yay!)
Where did the idea come from? I'm going to Euro Disney and love all things Disney, otherwise what's the point of going to Disneyland? Anyways, I wanted to do something that celebrated my love of Disney take took form of a cupcake without going over the top. 
As the idea of a cupcake is to keep it simple and elegant. So this tutorial is really simple and is a good excuse to sing well known Disney songs around the kitchen and maybe wear a crown as well.

This tutorial will make 4 pretty Princess Cakes depending on how much buttercream you want to use. I did mine thick so I only make the 4 Princess Cakes.
You will need:
Basic Butterscotch Cupcakes- Make 12 little cakes
  • 100g plain flour
  • 1 teaspoon of baking powder
  • 1/4 teaspoon of salt
  • 125g unsalted butter
  • 50g caster sugar
  • 2 eggs
  • 75 ml whole milk
  • 1/4 teaspoon of butterscotch essence

For the Butterscotch Buttercream
  • 400g icing sugar
  • 200g unsalted butter
  • 1/4 teaspoon of butterscotch essence


Equipment You Will Need:
  • Cupcake Tin
  • Hand whisk
  • Jug
  • Cupcake Cases

Method
  1. Pre-heat the oven to 180c/350f/Gas Mark 4. 
  2. Place flour, baking powder, sugar, salt and butter together in a bowl.  
  3. Mix together with your fingertips until the mixture resembles fine breadcrumbs.  
  4. In another bowl whisk eggs, milk and essence together until well blended. 
  5. Slowly pour the egg mixture into the dry ingredients, whisking all the time.  
  6. Whisk gently until smooth, being careful not to over-mix. Pour the cake batter into jug to make it easy to handle. 
  7. Place 12 paper cupcakes cases into the cupcake tin. 
  8. Carefully pour all the cake batter into the cases, filling each one only half way.  
  9. Bake for 20-25 mins until springy to touch. 
  10. Leave for a few minutes, the transfer the cupcakes to a wire rack to cool completely.  
  11. To make the frosting, combine the icing sugar, butterscotch extract and butter in a bowl. 
  12. Beat with an electric whisk for around 5 mins until light and fluffy.  
  13. Check the cakes have completely cooled or they will melt the frosting.


So while your cake's are cooling you need to make your toppers:
Equipment You Will Need:
  • Princess Toppers (I got these from Kreations Parties )
  • Lolly-sticks/sucker-sticks/toothpicks
  • Scissors
  • Tape
Method:
  1. Cut out your princesses carefully. Remember when using scissors be very careful.
  2. Place your sticks in the middle of the cut out at the back. 
  3. Tape the stick in the middle and make sure that its secure. 
Cut out your princesses carefully. Remember when using scissors be very careful.
Place your sticks in the middle of the cut out at the back.
Once you've got your princess cake toppers ready and your cupcakes are cool need to start building your cake 'dresses'. Essentially, its 2 cupcakes to one dress just like the picture below. To secure the two cakes together, level the cakes carefully with a knife and spread a layer of buttercream between them.
To secure the two cakes together, level the cakes carefully and spread a layer of buttercream between them. 
To Decorate the Cakes You Will Need:
  • Buttercream used with the recipe above
  • Food Paste Colours in princess colours (See left)
  • Glitter
  • Piping bag with a star nozzle
  • A small palette knife.


Method: 
  1. Once the cakes have been 'glued' together with the buttercream. Separate the buttercream according to which colour's you want. 
  2. Cover your cakes in a layer of buttercream and put in the fridge to create a crumb layer. Do this for every cake.
  3. Once the cakes have chilled in the fridge for an hour, smooth on the buttercream and decorate to your liking!
Cover your cakes in a layer of buttercream and put in the fridge to create a crumb layer
I used plain simple colours with a little glitter and piped on a couple of details. I wanted it to remain simple but here are the results:
Snow White and Belle Princess Cupcakes
Aurora (Sleeping Beauty) and Ariel (The Little Mermaid) Princess Cupcakes

I'm quite proud of my little princesses! Aren't they so sweet? If you try this tutorial, post pictures on the blog, email me pictures, post them on the facebook page or on twitter.
I hope that your enjoyed the tutorial and had fun reading!

Bake On!
Penny
Bake On! Penny x
Related Posts Plugin for WordPress, Blogger...