Showing posts with label disney. Show all posts
Tuesday, 14 April 2015
Happy Birthday (to me!) Cakes!
Yay today is my birthday! Woo!! Happy Birthday to me! I'll be doing a follow up post on what I did for my birthday later in the month. But for the today here's my ultimate list of drool-worthy birthday that I would love to receive (hint).
Labels:
baking,
birthday,
boyfriend,
burger,
cake,
cherry jam,
chocolate,
citrus,
disney,
friendship,
gluten free,
homemade,
mini cake,
red velvet
Friday, 28 June 2013
Earl Grey Mickey Cookies Inspired by Disneyland
Well it's been a week since I came back from my amazing holiday to *DRUMROLL* Disneyland Paris!
I'm gutted to come back to real life. It was like walking into a dream. I'm sure that many Disney fans know about the magic rush they get from going to a Disney Park.
It's a delirium of magic and stepping back in time and being a princess.
(Note: I was not allowed to prance around in a big Lottie style dress, pushing children out of the way, to get to a ride declaring: "It's ok I live here!")
In any case, I was heartbroken to leave and so was my friend Sofia.
Heartbroken and very sore from all the walking. I loved it, none the less. So, I'm planning the next trip! I think next time my friend and I are going to drag our boyfriends by the hair and demand to go. Yes that is how obsessed we are.
In any case, since this is a baking blog I should tell to about my Disney adventures that are kind of related to baking.
To do some baking with I bought some of these:
Aren't they so cool?! I've never seen Disney cookie cutters before. So now I just needed an excuse to use them. I don't need an excuse to bake really, but it's nice to justify it. And I like nothing better then tea and biscuits so why not combine the two?
These Earl Grey tea biscuits (or cookies whatever, as long as they taste good) are easy to make as well as being great as a sweet something before lunch or just something to dunk in tea. If you can handle the double dose of tea.
Also, you can freeze this dough overnight, if you haven't got time to bake it.
2. Mix together the butter and sugar
in a bowl and beat with a wooden spoon or an electric hand whisk until creamy.
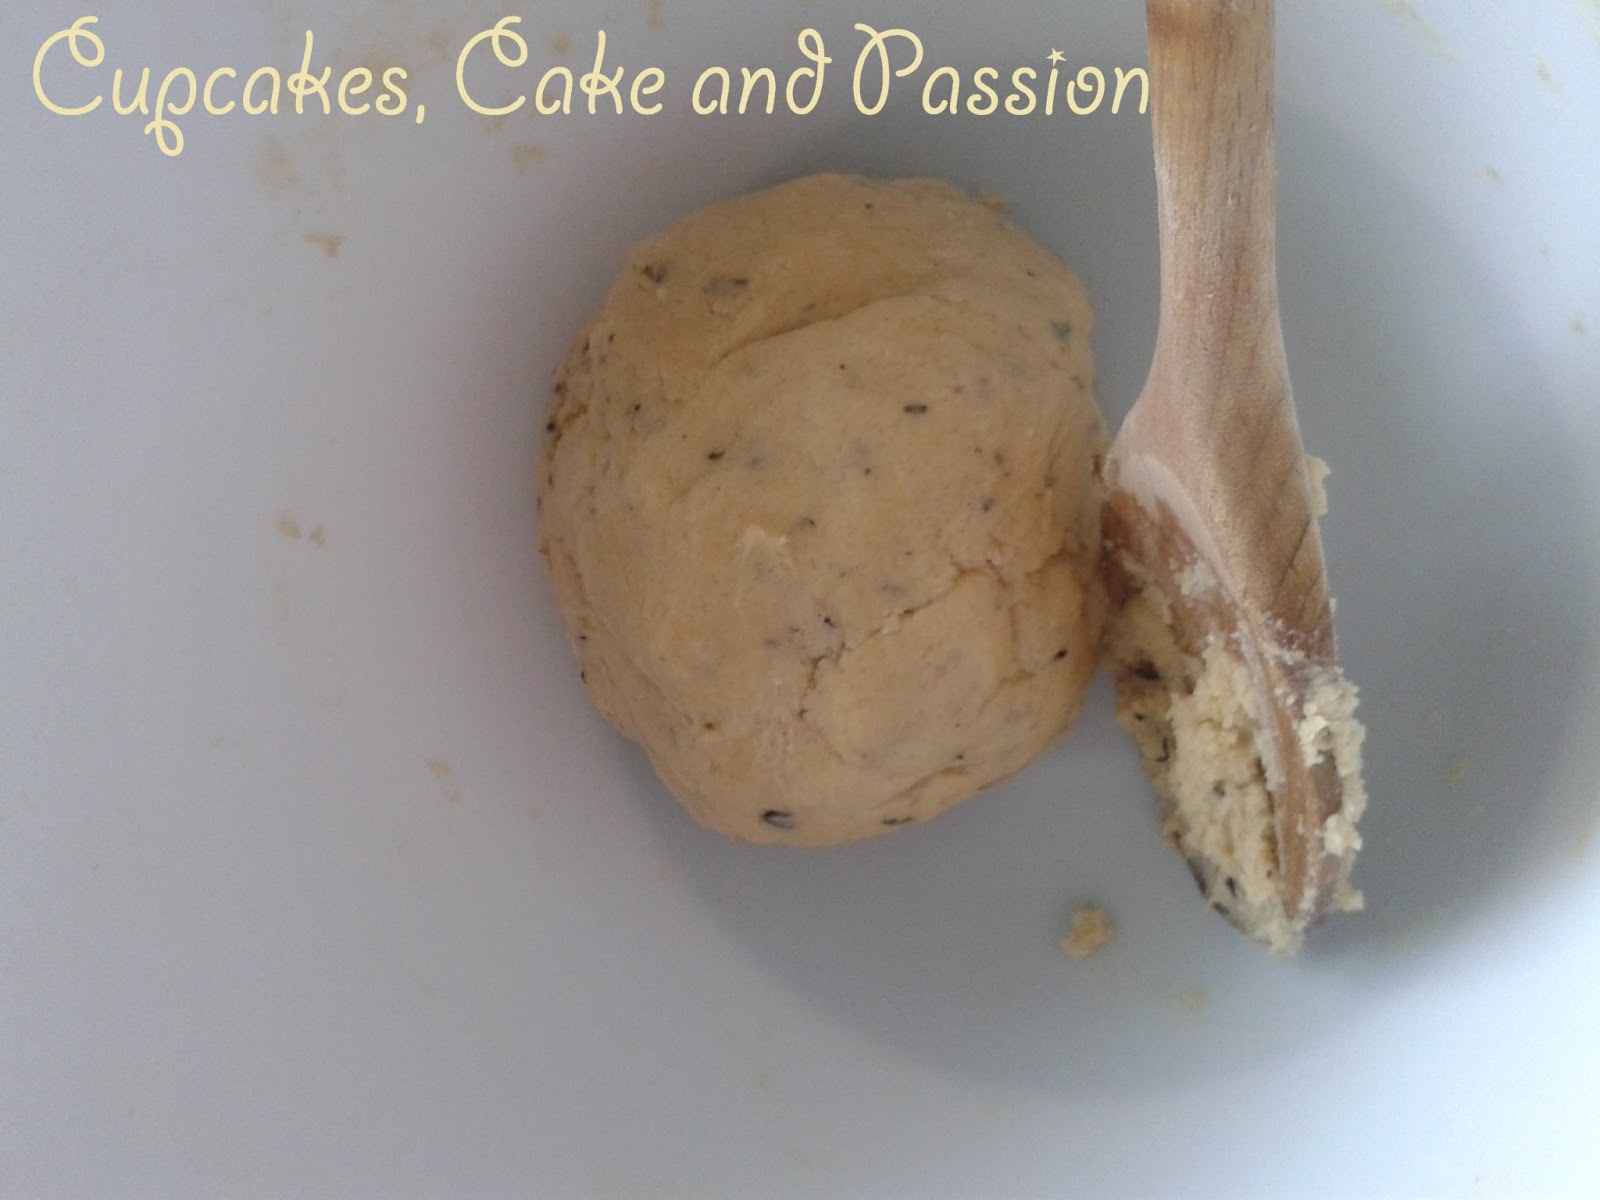
4. Beat in the egg white. Fold in
the flour to make, a soft but not sticky dough.
(Note: I was not allowed to prance around in a big Lottie style dress, pushing children out of the way, to get to a ride declaring: "It's ok I live here!")
In any case, I was heartbroken to leave and so was my friend Sofia.
Heartbroken and very sore from all the walking. I loved it, none the less. So, I'm planning the next trip! I think next time my friend and I are going to drag our boyfriends by the hair and demand to go. Yes that is how obsessed we are.
In any case, since this is a baking blog I should tell to about my Disney adventures that are kind of related to baking.
To do some baking with I bought some of these:
Aren't they so cool?! I've never seen Disney cookie cutters before. So now I just needed an excuse to use them. I don't need an excuse to bake really, but it's nice to justify it. And I like nothing better then tea and biscuits so why not combine the two?
These Earl Grey tea biscuits (or cookies whatever, as long as they taste good) are easy to make as well as being great as a sweet something before lunch or just something to dunk in tea. If you can handle the double dose of tea.
Also, you can freeze this dough overnight, if you haven't got time to bake it.
Also check out this nifty Alice in Wonderland teacup! A little gift to myself from Disneyland, there was an awesome teapot which I couldn't afford but hopefully will grab it on the next visit. (Makes a good excuse to go back no?)
Recipe Name: Mickey Earl Grey Tea Biscuits
Recipe:
Makes 18-20 biscuits (recipe adapted from Cookies Galore)
· 80g unsalted butter, at room
temperature
·
50g soft
light brown sugar
·
1
tablespoon of teapigs Earl Grey tea leaves
·
1 egg
white
·
150g
plain flour, plus a little extra
· Extra Demerara sugar to top each
biscuit
Equipment:
·
Wire
rack
·
Electric
hand whisk/ wooden spoon
·
Bowl
·
Sieve
·
Baking
sheet lined with baking parchment x 2
·
Rolling
pin
·
Mickey
Mouse Cookie cutter
1. Preheat oven to Gas Mark 5/ 190c/375f.
Line the baking sheets with the baking parchment. (Don't preheat oven if your freezing this mixture overnight)
![]() |
| Step2. Cream the butter and sugar together |
![]() |
| Step 4. Beat in the egg white |
![]() |
| Step 4. Fold in the flour to make the dough |
5. Wrap the dough in cling film and
chill in the fridge for as long as you can possibly can (I left it about an
hour).
Thursday, 20 June 2013
Insanely quick dessert: Apple Tart Tatin
I know that I'm really behind on my recipes.
I mean seriously, I'm on the case. I'm still on holiday mode, wishing that I was still at Disneyland Paris...Sigh.
Anyways, there will be a whole post on Disney, I swear.
No really. Tomorrow. Ok maybe on the weekend. I will put it up (UPDATE: Totally posted) . I swear on my Queen of Hearts Crown I will! (I do have one. I'll have to post a photo of it at some point.)
But just to keep you in the loop and keep you posted on my pastry classes here's the latest quick dessert. If you'd like to try other fun things to do with puff pastry check out this previous post.
Ingredients:
·
55g
sugar, (or enough to cover the bottom of the pan)
·
2
pink lady apples, peeled and cut into chunky bits
·
10g
butter
·
Puff
pastry (readymade or homemade)
·
Vanilla
Ice Cream to serve
Equipment
·
A
frying pan with a metal handle (the pan is going in the oven
·
Chopping
board
·
Fruit
peeler
·
Sharp
knife
·
Plate
1.
In
a dry pan, place the sugar on a medium heat. Keep watching the sugar and don’t
stir. Just give the pan a little shake now and then.
2.
Wait
until the sugar just starts to turn brown. Once again watch this as it as it
burns very quickly.
3.
Place
your apples into the caramel and cook them out for about 5 minutes or until the
apple juices are all cooked out. Since the juices are being extracted from the
apples, this may spit at you, so be careful.
4.
Add
the butter to apples and shake slightly to boil off. (Adding the butter will
prevent the mixture from burning.)
6.
Whilst
the apples are cooling down, roll out the puff pastry to about 3 mm thick, and
cut a circle about the size of the pan plus an extra inch. Cut 2 slits into the
pastry to let the steam escape whilst the pastry is cooking in the oven.
7.
Once
the apples have completely cooled down, place the puff pastry on top of apples.
Fold over an inch of your pastry towards the centre, this forms a thick pastry
crust as well as provide some support for the tart.
8.
Put
the tart into oven for about 15 minutes until golden and a little risen.
10. With
a serving plate at the ready, put your plate on top of the pan and flip. You
should have the frying pan on top of the plate.
| Before-My first attempt |
11. Voilà !
You have an apple tart tatin to eat! Serve hot with some ice cream.
The next quick and easy dessert to try is bande aux fruit, however I've already made this dessert. I think the second one looks way more presentable.
So, there you go. Once again sorry for the quick post. It's been a weird week. I, hopefully, will be reporting with very good news. I wont tell you, as it will ruin the awesome surprise.
Bake on! (I'm clearly still in Princess Mode)
The next quick and easy dessert to try is bande aux fruit, however I've already made this dessert. I think the second one looks way more presentable.
![]() |
| After-My second attempt woo! |
Bake on! (I'm clearly still in Princess Mode)
Labels:
apple,
bande aux fruite,
dessert,
disney,
friend,
fruit,
paris,
pastry class,
recipe,
tart
Thursday, 6 June 2013
Harry Potter fans,don't get jealous
I know its got nothing to do with baking or desserts or anything. But I'm off to Disneyland right now. As I'm typing his onto my phone at the eurostar station! I'm so excited. On our travels me and my friend found Platform 9 3/4's. Yes the official platform, which we found so funny and a good photo op.
But we do look like lunatics.
Bake on!
Penny x
Labels:
disney,
disneyland,
harry potter,
holiday
Monday, 19 November 2012
Tutorial: Princess Mini Cakes
Where did the idea come from? I'm going to Euro Disney and love all things Disney, otherwise what's the point of going to Disneyland? Anyways, I wanted to do something that celebrated my love of Disney take took form of a cupcake without going over the top.
As the idea of a cupcake is to keep it simple and elegant. So this tutorial is really simple and is a good excuse to sing well known Disney songs around the kitchen and maybe wear a crown as well.
This tutorial will make 4 pretty Princess Cakes depending on how much buttercream you want to use. I did mine thick so I only make the 4 Princess Cakes.
You will need:
Basic Butterscotch Cupcakes- Make 12 little cakes
Equipment You Will Need:
So while your cake's are cooling you need to make your toppers:
Equipment You Will Need:
Once you've got your princess cake toppers ready and your cupcakes are cool need to start building your cake 'dresses'. Essentially, its 2 cupcakes to one dress just like the picture below. To secure the two cakes together, level the cakes carefully with a knife and spread a layer of buttercream between them.
To Decorate the Cakes You Will Need:
This tutorial will make 4 pretty Princess Cakes depending on how much buttercream you want to use. I did mine thick so I only make the 4 Princess Cakes.
You will need:
Basic Butterscotch Cupcakes- Make 12 little cakes
- 100g plain flour
- 1 teaspoon of baking powder
- 1/4 teaspoon of salt
- 125g unsalted butter
- 50g caster sugar
- 2 eggs
- 75 ml whole milk
- 1/4 teaspoon of butterscotch essence
For the Butterscotch Buttercream
- 400g icing sugar
- 200g unsalted butter
- 1/4 teaspoon of butterscotch essence
Equipment You Will Need:
- Cupcake Tin
- Hand whisk
- Jug
- Cupcake Cases
Method
- Pre-heat the oven to 180c/350f/Gas Mark 4.
- Place flour, baking powder, sugar, salt and butter together in a bowl.
- Mix together with your fingertips until the mixture resembles fine breadcrumbs.
- In another bowl whisk eggs, milk and essence together until well blended.
- Slowly pour the egg mixture into the dry ingredients, whisking all the time.
- Whisk gently until smooth, being careful not to over-mix. Pour the cake batter into jug to make it easy to handle.
- Place 12 paper cupcakes cases into the cupcake tin.
- Carefully pour all the cake batter into the cases, filling each one only half way.
- Bake for 20-25 mins until springy to touch.
- Leave for a few minutes, the transfer the cupcakes to a wire rack to cool completely.
- To make the frosting, combine the icing sugar, butterscotch extract and butter in a bowl.
- Beat with an electric whisk for around 5 mins until light and fluffy.
- Check the cakes have completely cooled or they will melt the frosting.
So while your cake's are cooling you need to make your toppers:
Equipment You Will Need:
- Princess Toppers (I got these from Kreations Parties )
- Lolly-sticks/sucker-sticks/toothpicks
- Scissors
- Tape
- Cut out your princesses carefully. Remember when using scissors be very careful.
- Place your sticks in the middle of the cut out at the back.
- Tape the stick in the middle and make sure that its secure.
| Cut out your princesses carefully. Remember when using scissors be very careful. |
| Place your sticks in the middle of the cut out at the back. |
| To secure the two cakes together, level the cakes carefully and spread a layer of buttercream between them. |
Method:
- Once the cakes have been 'glued' together with the buttercream. Separate the buttercream according to which colour's you want.
- Cover your cakes in a layer of buttercream and put in the fridge to create a crumb layer. Do this for every cake.
- Once the cakes have chilled in the fridge for an hour, smooth on the buttercream and decorate to your liking!
| Cover your cakes in a layer of buttercream and put in the fridge to create a crumb layer |
| Snow White and Belle Princess Cupcakes |
| Aurora (Sleeping Beauty) and Ariel (The Little Mermaid) Princess Cupcakes |
I'm quite proud of my little princesses! Aren't they so sweet? If you try this tutorial, post pictures on the blog, email me pictures, post them on the facebook page or on twitter.
I hope that your enjoyed the tutorial and had fun reading!
Bake On!
Penny
Labels:
baking,
basic,
beginner cooking,
buttercream,
butterscotch,
cake,
decorating,
disney,
disneyland,
food,
glitter,
holiday,
icing,
layer cake,
mini cake,
paris,
piping,
pretty,
princess,
vacation