Friday, 28 June 2013

Earl Grey Mickey Cookies Inspired by Disneyland

Well it's been a week since I came back from my amazing holiday to *DRUMROLL* Disneyland Paris!
I'm gutted to come back to real life. It was like walking into a dream. I'm sure that many Disney fans know about the magic rush they get from going to a Disney Park.
It's a delirium of magic and stepping back in time and being a princess. 
(Note: I was not allowed to prance around in a big Lottie style dress, pushing children out of the way, to get to a ride declaring: "It's ok I live here!")

In any case, I was heartbroken to leave and so was my friend Sofia.
Heartbroken and very sore from all the walking. I loved it, none the less. So, I'm planning the next trip! I think next time my friend and I are going to drag our boyfriends by the hair and demand to go. Yes that is how obsessed we are.

In any case, since this is a baking blog I should tell to about my Disney adventures that are kind of related to baking.
To do some baking with I bought some of these:

Aren't they so cool?! I've never seen Disney cookie cutters before. So now I just needed an excuse to use them. I don't need an excuse to bake really, but it's nice to justify it. And I like nothing better then tea and biscuits so why not combine the two? 
These Earl Grey tea biscuits (or cookies whatever, as long as they taste good) are easy to make as well as being great as a sweet something before lunch or just something to dunk in tea. If you can handle the double dose of tea. 
Also, you can freeze this dough overnight, if you haven't got time to bake it. 
Also check out this nifty Alice in Wonderland teacup! A little gift to myself from Disneyland, there was an awesome teapot which I couldn't afford but hopefully will grab it on the next visit. (Makes a good excuse to go back no?)

Recipe Name: Mickey Earl Grey Tea Biscuits

Recipe: Makes 18-20 biscuits (recipe adapted from Cookies Galore)
·       80g unsalted butter, at room temperature
·       50g soft light brown sugar
·       1 tablespoon of teapigs Earl Grey tea leaves
·       1 egg white
·       150g plain flour, plus a little extra
·       Extra Demerara sugar to top each biscuit

Equipment:
·       Wire rack  
·       Electric hand whisk/ wooden spoon
·       Bowl
·       Sieve
·       Baking sheet lined with baking parchment x 2
·       Rolling pin
·       Mickey Mouse Cookie cutter

1.    Preheat oven to Gas Mark 5/ 190c/375f. Line the baking sheets with the baking parchment. (Don't preheat oven if your freezing this mixture overnight)

Step2. Cream the butter and sugar together
2.    Mix together the butter and sugar in a bowl and beat with a wooden spoon or an electric hand whisk until creamy.
Step 3. Stir in the tea leaves
3.    Stir in the tea leaves.
Step 4. Beat in the egg white
Step 4. Fold in the flour to make the dough
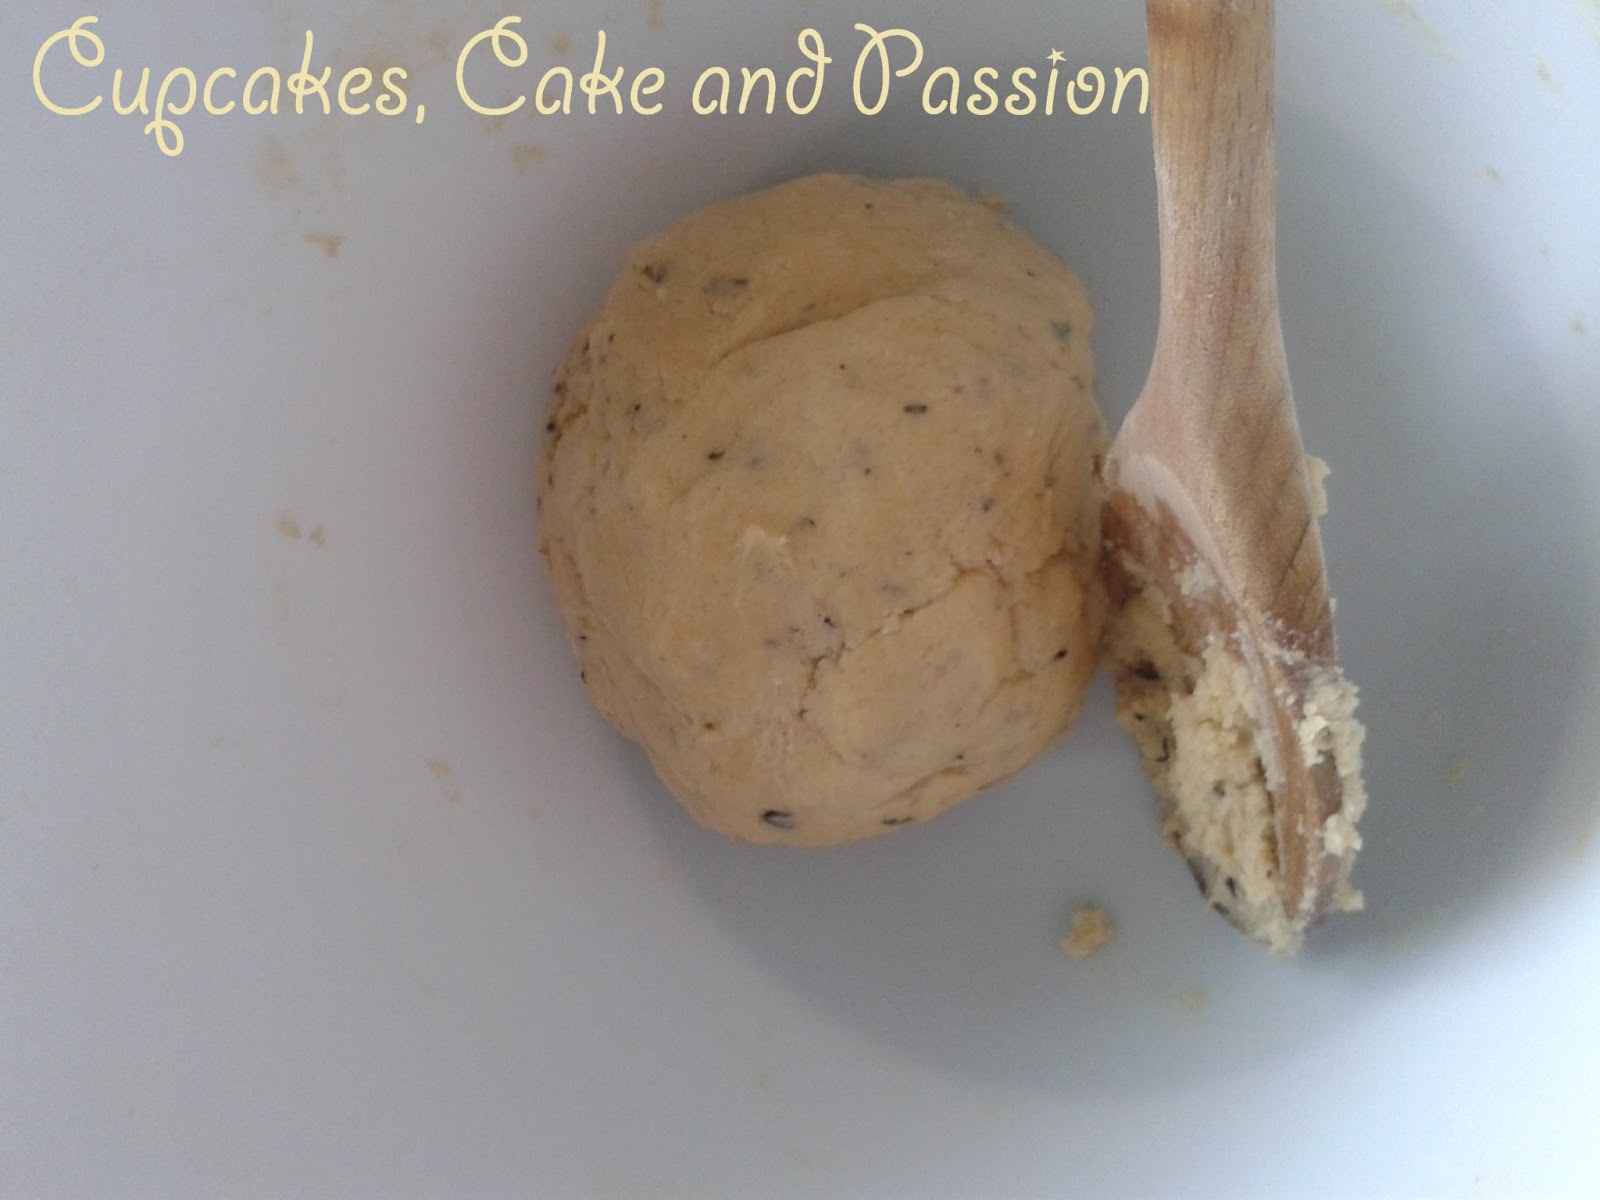
4.    Beat in the egg white. Fold in the flour to make, a soft but not sticky dough.
5.    Wrap the dough in cling film and chill in the fridge for as long as you can possibly can (I left it about an hour).
Step 6. Roll out and start cookie cutting!
6.    Roll out the dough on a lightly floured surface to about 3 mm thick and cut out mickey head and transfer to the prepared baking sheets and sprinkle each one with demerara sugar.
7.    Bake in the oven for 10-15 minutes until lightly browned.
Moonch with some tea
You can omit the demerara sugar if you like, but it will result in a pale colour. 
Have an excellent weekend fellow Disney/baking peoples!


(Yes I'm still using the princess siggie.)
Bake On! Penny x

Thursday, 20 June 2013

Insanely quick dessert: Apple Tart Tatin

I know that I'm really behind on my recipes. 
I mean seriously, I'm on the case. I'm still on holiday mode, wishing that I was still at Disneyland Paris...Sigh. 
Anyways, there will be a whole post on Disney, I swear.
No really. Tomorrow. Ok maybe on the weekend. I will put it up (UPDATE: Totally posted) . I swear on my Queen of Hearts Crown I will! (I do have one. I'll have to post a photo of it at some point.) 
But just to keep you in the loop and keep you posted on my pastry classes here's the latest quick dessert. If you'd like to try other fun things to do with puff pastry check out this previous post

Tart Tatin is a french dish that has mixed background stories. But however it came about, its a dessert that can be made very quickly, that is if you have some puffy pastry in the freezer, if you'd like to make your own check out the recipe here. Also, it helps if you've got some fruit on the turn, apples or pears are great to use. 

Ingredients:
·       55g sugar, (or enough to cover the bottom of the pan)
·       2 pink lady apples, peeled and cut into chunky bits
·       10g butter
·       Puff pastry (readymade or homemade)
·       Vanilla Ice Cream to serve

Equipment
·       A frying pan with a metal handle (the pan is going in the oven
·       Chopping board
·       Fruit peeler
·       Sharp knife
·       Plate

1.    In a dry pan, place the sugar on a medium heat. Keep watching the sugar and don’t stir. Just give the pan a little shake now and then.
2.    Wait until the sugar just starts to turn brown. Once again watch this as it as it burns very quickly.
3.    Place your apples into the caramel and cook them out for about 5 minutes or until the apple juices are all cooked out. Since the juices are being extracted from the apples, this may spit at you, so be careful.
4.    Add the butter to apples and shake slightly to boil off. (Adding the butter will prevent the mixture from burning.)
5.    Take the pan off the heat and leave it to cool down. Preheat oven to 200c/400f/ Gas Mark 6.
6.    Whilst the apples are cooling down, roll out the puff pastry to about 3 mm thick, and cut a circle about the size of the pan plus an extra inch. Cut 2 slits into the pastry to let the steam escape whilst the pastry is cooking in the oven.
7.    Once the apples have completely cooled down, place the puff pastry on top of apples. Fold over an inch of your pastry towards the centre, this forms a thick pastry crust as well as provide some support for the tart.
8.    Put the tart into oven for about 15 minutes until golden and a little risen.
9.    Carefully with an oven cloth take out the pan out from the oven.
10.  With a serving plate at the ready, put your plate on top of the pan and flip. You should have the frying pan on top of the plate.


Before-My first attempt
11. Voilà! You have an apple tart tatin to eat! Serve hot with some ice cream.  

The next quick and easy dessert to try is bande aux fruit, however I've already made this dessert. I think the second one looks way more presentable. 

After-My second attempt woo!
So, there you go. Once again sorry for the quick post. It's been a weird week. I, hopefully, will be reporting with very good news. I wont tell you, as it will ruin the awesome surprise.
Bake on! (I'm clearly still in Princess Mode)


Bake On! Penny x

Thursday, 6 June 2013

Harry Potter fans,don't get jealous

I know its got nothing to do with baking or desserts or anything. But I'm off to Disneyland right now. As I'm typing his onto my phone at the eurostar station! I'm so excited.
On our travels me and my friend found Platform 9 3/4's. Yes the official platform, which we found so funny and a good photo op.
But we do look like lunatics. 
Bake on!
Penny x
Bake On! Penny x

Wednesday, 5 June 2013

Chilli Chai Chocolate Pannacotta and 'The Student' Cocktail (Also going to Disney woooo!)

I know it's a little odd doing a drink on a baking blog but I was kindly asked by the teapigs crew to do a summer drink. I was a little hesitant and said: "I do bake and I do drink (on occasion) but rarely at the same time (very bad results), I'm not sure if I could just come up with a cocktail recipe just like that."
The lovely Becky from teapigs told me not to worry and just do what  could with the teas they sent me. 

I did come up with a spur of the moment cocktail as I was chilling
in my boyfriends kitchen when our friend nicknamed, Doocky Dan decided to get out a bottle of sparking wine. 
Not champagne, but the cheap and cheerful sparking wine. Nothing wrong with that, its just a little dry for my taste. That's when the cogs in my head began to whirl. 
"Do you think that we can put these Super Fruit teabags into our glasses of sparkling?"
"Why not?" Was his response. 
 So that's what we did:

'The Student' Summer Cocktail:
Equipment:
  • Glasses
  • Measuring jugs
1. Place teabags into the measuring jug and pour the wine over the tea bags. 
Step 1. Place teapigs into measuring jug. You can have a friend  trying to get into the shot. This is optional. 
2. Let the teabags infuse with the wine until it turns pink.
3. Serve with strawberries, raspberries and red berries. Or nothing if you're a lazy students. 

This next recipe came to me as a suggestion from a work mate (thanks Lucy!) . Chilli and chocolate goes down surprisingly well, who would have guessed. Going along with the lazy student theme, pannacotta is quite an easy dessert, it took 30 minutes to prepare and make. Mind you it takes forever to set but its chocolatey goodness is worth the wait. 

Chilli Chai Chocolate Panna-Cotta (Inspired by this vanilla pannacotta recipe)
Ingredients:
  •  125ml milk
  •  375ml double cream
  •  2 Tablespoons of cocoa powder
  •  2 gelatine leaves/ 2 agar agar leaves if you're a vegetarian   
  • 50g caster sugar
  • 2 teapigs chilli chai tea bags
Ingredients needed
teapigs chilli chai
Equipment:
  •  Whisk
  •  Bowlx2
  •  Saucepan
  •  Spatula
  • 4 dario mould/ or the small Christmas pudding moulds
  • Measuring jug
  • Sieve
  • Scissors
Step 1. Soak the gelatine in cold water
1.    Soak the gelatine in a small with cold water. Make sure that it is cold water as if the water is warm the gelatine will dissolve and become useless and no-one wants to waste ingredients. 
2. Cut open the teapigs tea bags, empty contents and set aside. 
3. Add the cream, milk, the chilli chai and cocoa powder into a saucepan and mix until combined. 
Step 3. Add all the cream, milk, tea and cocoa powder in a saucepan
3.    Once the mixture is hot enough add the sugar and gelatine. 
Step 4. Take off the the heat and stir in sugar and gelatine.
4.    Take the mixture off the heat and stir until the sugar and the gelatine has dissolved.
Step 5. Sieve the mixture
5.    Sieve the mixture into a measuring jug. This removes the tea bags contents.
Step 6. Pour into molds
6.    Let the pannacotta mixture cool for a few moments before pouring into the Dario moulds and placing into the fridge for about 1 hour or until set.
7.    The best way to get the pannacotta out of the mold onto a plate, is to have a bowl of warm water ready. Place the mold into the water for about 6 seconds, get your desired plate on top of the mold then flip the plate, so that is on a table. Wiggle the mold a little until it is evenly on the plate.

Or if all else fails just slam it on the table aggressively until the pannacotta comes out. It looks a little smashed but it tasted great! 

Another thing I'd like to mention that, is I'm going to Disneyland Paris for the 5th time. (Greedy girl!) But this time I'm taking my good friend Sofia with me, who is completely delirious with excitement, as am I! I'm so excited that I really wish I had the time to make these Disney Princess Cakes to celebrate tomorrows departure to Euro Disney! In fact I've got a cute little princess-y siggie in celebration!
Bake and Princess On !


(Look at my  little dress. It's got a little sparkles!)

Bake On! Penny x

Wednesday, 29 May 2013

Pastry Class: Fruit Bavarois, Vanilla Pannacotta, Lemon Steamed Sponge Pudding and Easy Apple Crumble.

In this week's pastry class, we were continuing to look at hot and cold desserts. It was a mixed bag of recipes, all of which can easily be done with the intention of impressing your family and dinner guests. 

A bavarois is a type of mousse made with double or whipping cream. It can be made with chocolate, fruit or even vegetables. I wasn't surprised to see that Heston Blumental of the Fat Duck restaurant has already made a wacky version of a bavarois. If your new to a bavarois, stick to fruit such as strawberries or raspberries. I had to do this for a pastry assessment along with creme caramel, which was surprisingly easy, why not give it a go?

Fruit bavarois made by me with raspberry puree
Recipe: Fruit Bavarois
Ingredients:
·       125g fruit puree (I used raspberry)
·       125g stock syrup (recipe here just omit the cinnamon)
·       250g whipping cream
·       3 gelatine leaves
·       10g lemon juice

Equipment:
·       Whisk
·       Bowlx2
·       Saucepan
·       Spatula
·       1 bowl of ice
·       4 round cook rings lined with clear acetate
·       1 tray lined with silicone paper
·       1 disposable piping bag
Step 1. Line the tray 
1.    Line a tray with silicone paper and then line 4 small cook rings with clear plastic acetate. 
Steap 2. Soak the gelatine
2.    Soak the gelatine in a small with cold water. Make sure that it is cold water as if the water is warm the gelatine will dissolve and become useless.
3.    Whip the whipping cream until it just standing up, holding its peak.
4.    Mix together the syrup and fruit puree in a saucepan and heat gently on a low heat.
5.    Once the fruit and syrup has heated through, take off the heat and add the gelatine leaves. To do this, take the gelatine out of the water, (they should be squeezy and a little slimy) and squeezing until all of the water has been rung out.
6.    Stir the mixture until the gelatine has dissolved, this should take about a minute. At this point you can add the lemon juice according to taste. If you’d like a really sweet mousse then omit the lemon juice.
Step 7. Cool it down as quickly as possible
7.    To cool the mixture down as quickly as possible, have a bowl of ice ready. Put the fruit mixture into another bowl and place that into the bucket of ice and whisk lightly to cool down. Scrap the sides down once and a while so that the mix doesn’t set on the side of the bowl.
Step 8. fold in the cream
8. Once the mixture is cold enough then fold in the semi whipped cream in thirds.
Step 9. Pipe into the cook rings
9. Once all the cream has been incorporated, place the mixture into a piping bag and pipe into the cook rings.
10. Place in the fridge for about an 1 hour and 30 mins or until set.
Step 11. Remove from mould
11. To remove, place a palette knife under the bavarois and place on desired plate. Take the cook ring off and carefully peel the acetate off.
A finished bavarois made by my pastry tutor faye

My finished bavarois made by erm me!

12. Keep the decoration simple, pipe a little whipped cream and garnish with raspberry and mint, and maybe a little icing sugar if your feeling fancy!
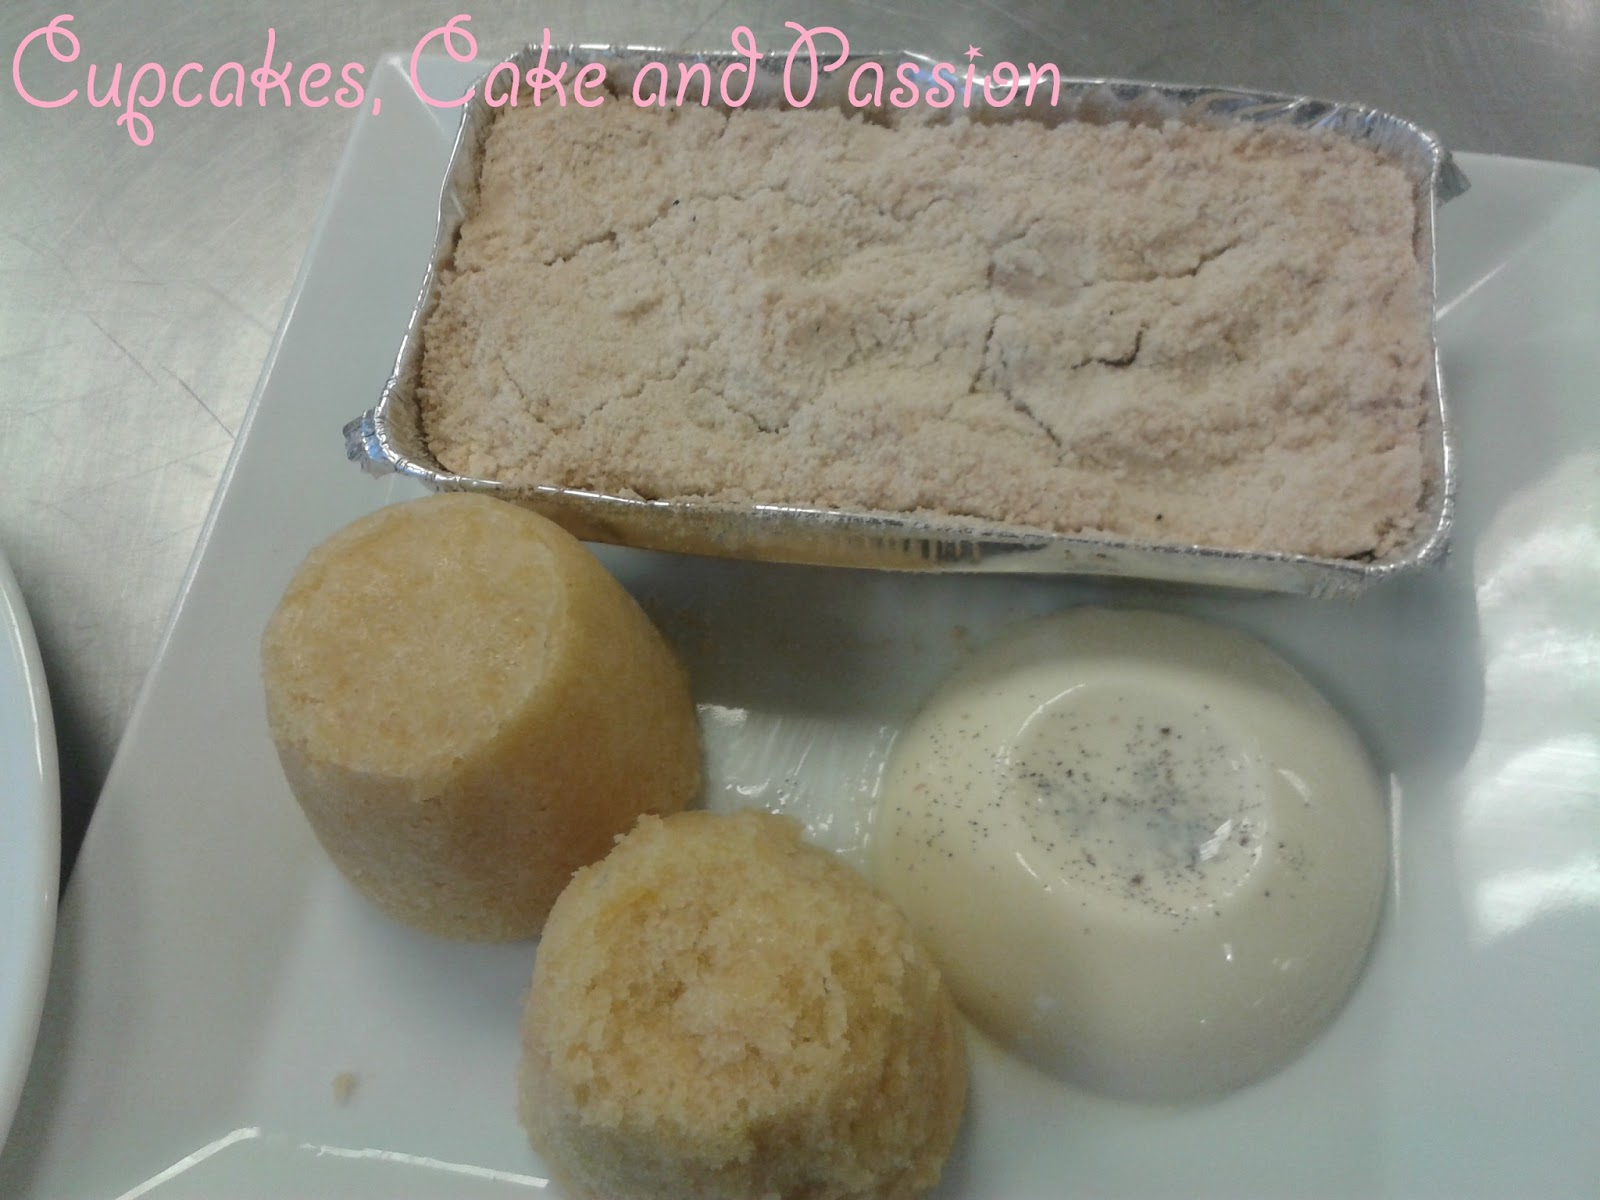
Vanilla panna cotta to the right of this picture. 
Panna-cotta is an Italian cooked cream dessert that can be flavoured with chocolate, fruit or caramel. As long as you get the jiggly wiggly cream right its a sure-fire winner!

Vanilla Panna-Cotta
Ingredients:
·       125ml milk
·       375ml double cream
·       ½ vanilla pod
·       1 aniseed
·       2 gelatine leaves/ 2 agar agar leaves if you're a vegetarian 
·       50g caster sugar

Equipment:
·       Whisk
·       Bowlx2
·       Saucepan
·       Spatula
·       4 dario molds/ or the small Christmas pudding moulds/ ramakins
·       Measuring jug
·       Sieve

1.    Soak the gelatine in a small with cold water. Make sure that it is cold water as if the water is warm the gelatine will dissolve and become useless.

2.    Add the cream, milk, the vanilla pod and the aniseed into a saucepan and heat gently until boiling slightly.
3.    Once the mixture is hot enough add the sugar and gelatine.
4.    Take the mixture off the heat and stir until the sugar and the gelatine has dissolved.
5.    Sieve the mixture into a measuring jug. This removes the star anise.
6.    Let the panna-cotta mixture cool for a few moments before pouring into the Dario molds and placing into the fridge for about 1 hour or until set.
7.    The best way to get the pannacotta out of the mold onto a plate, is to have a bowl of warm water ready. Place the mold into the water for about 6 seconds, get your desired plate on top of the mold then flip the plate, so that is on a table. Wiggle the mold a little until it is evenly on the plate.
Steamed sponge pudding to the left

There is little to explain about this. It's lemon flavoured sponge slowly steam cooked, perfect with custard or ice cream.
Lemon Steamed Sponge Pudding
Ingredients:
·       270g plain flour, sieved
·       15g baking powder, sieved
·       250g caster sugar
·       250g margarine, room temperature
·       5 eggs
·       The juice and zest of 2 lemons

Equipment:
·       Wooden spoon
·       Grater
·       Bowlx2
·       Electric hand held whisk/Spatula
·       Sieve
·       Small Dario moulds or small metal moulds well greased with margarine and flour

1.    Preheat the oven to Gas ¼/ 225f/ 110c
2.    Sieve the flour and baking powder into a separate bowl and put aside.
3.    Cream the sugar and margarine together using a spatula/hand held electric whisk.
4.    Add the eggs one at a time, beating after each addition.
5.    Fold in the flour and baking powder gently until fully incorporated.
6.    Add the lemon zest and juice and fold in again.
7.    Spoon into the very well buttered and floured moulds.
8.    Bake for 30-45minutes at Gas ¼/ 225f/ 110c. This is a steamed pudding, so the oven needs to be at a lower temperature. You will know when the puddings are ready when you can put a knife into the cake and it comes out clean.
Apple crumble top of the picture.

An apple crumble is, as far as I'm aware, is a British dessert which is served in Autumn when apples are at there best.  This makes a great family dessert and is insanely easy to make!

Apple crumble
Ingredients:
·       300g plain flour, sieved
·       150g caster sugar, sieved
·       100g unsalted butter, room temperature
·       1 can tinned apples or 450g peeled, cored apples and cut into 1cm cubes
·       1 pinch of cinnamon  
·       Cream or custard to serve

Equipment:
·       Sieve
·       Bowl x 2
·       Oven proof dish
·       Colander

1.    Pre-heat the oven to 180c/350f/Gas Mark 4
2.    Drain all the syrup from the apples using a colander Or peel, core and dice the apples. Put the fresh apples in a bowl of water with a little lemon juice to stop them from going brown.
3.    Sieve the flour and sugar into a bowl with the butter, rub together until it resembles fine breadcrumbs.
4.    Place the apples into the oven proof dish and then a pinch of cinnamon on top of the apples.
5.    Sprinkle the crumble mix on top. Don’t be tempted to pack it down, this will solidify the crumble into a biscuit.
6.    Bake the crumble for 40-45 minutes, or until the top is brown.
7.    Serve with custard or thick cream

I hope you've enjoyed this weeks pastry class!
Bake on!

Bake On! Penny x
Related Posts Plugin for WordPress, Blogger...